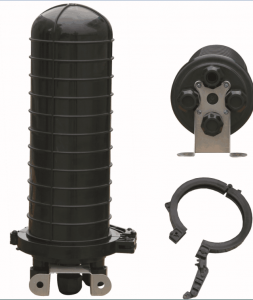
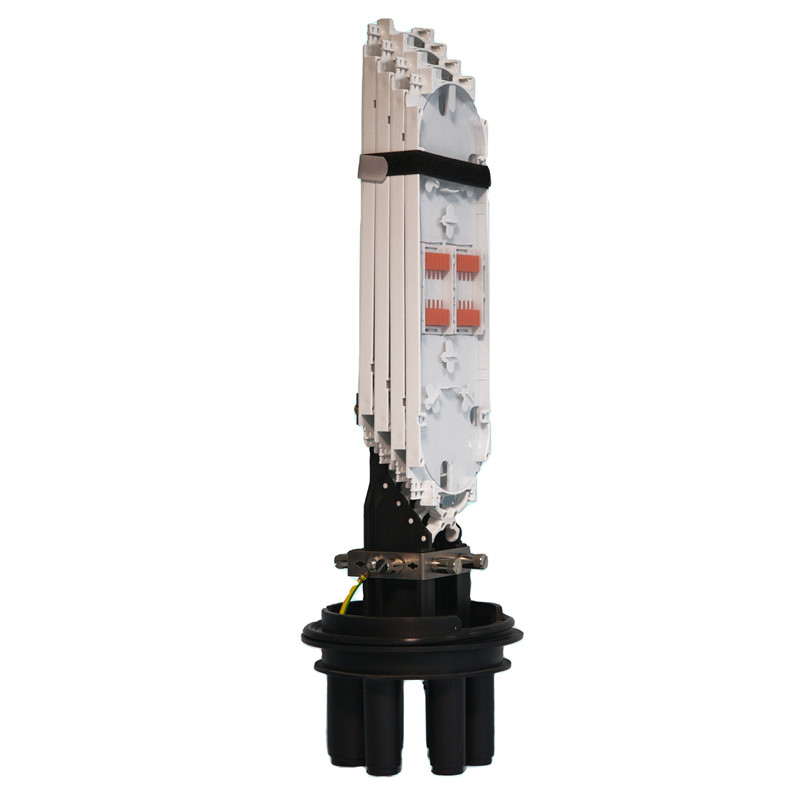
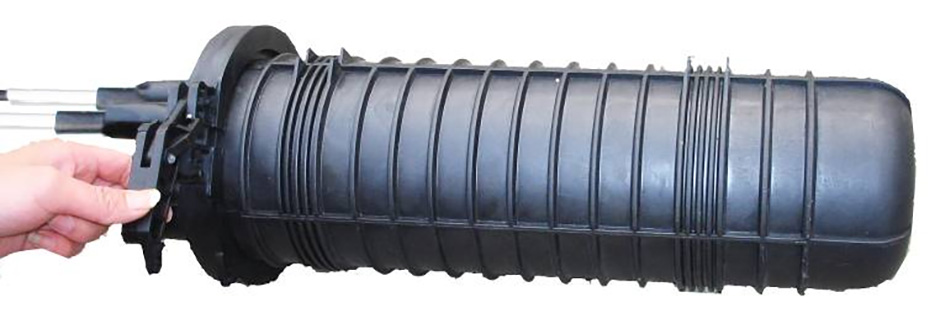
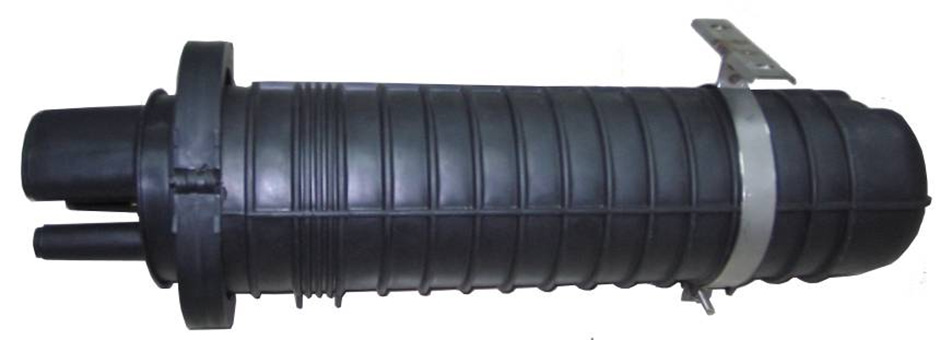
GPJM5-RS Fiber splice enclosure
Applications
● Aerial-hanging
● Wall-mounting
Product Specifications
| Item | GPJM5-RS |
| Dimension(mm) | Φ210×540 |
| Weight(Kg) | 3.5 |
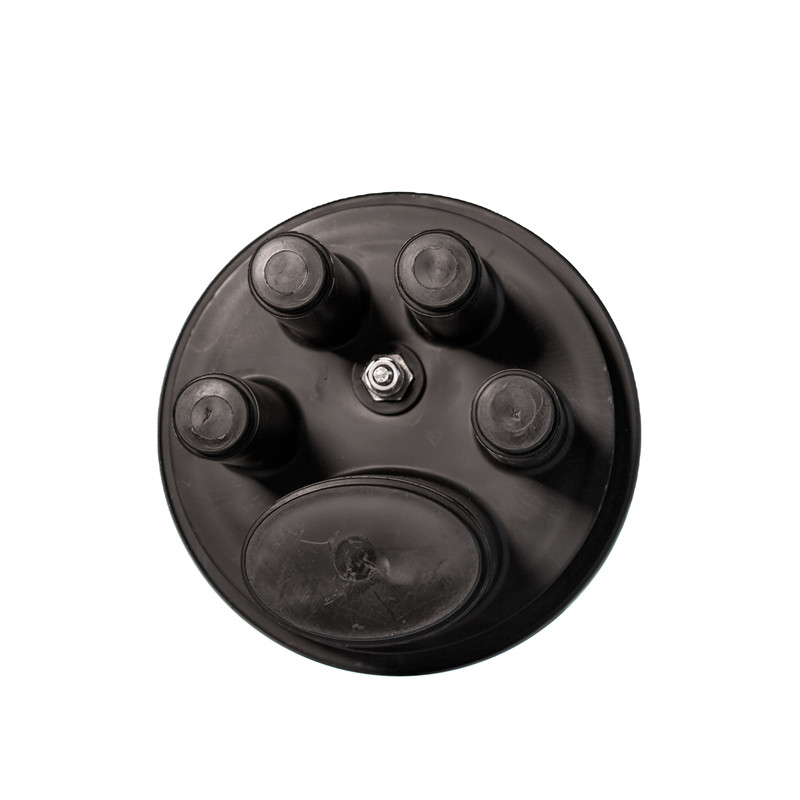
| Diameter of Cable(mm) | Φ7~Φ22 |
| No. of Cable Inlet/Outlet | five |
| Number of Fibers per Tray | 24(single core) |
| Max. Number of Trays | 4 |
| Max. Number of Fibers | 144(single core) 288(Ribbon type) |
| Sealing of Inlet/Outlet ports | Heat-shrinkable tube |
| Sealing of Shells | Silicon rubber |
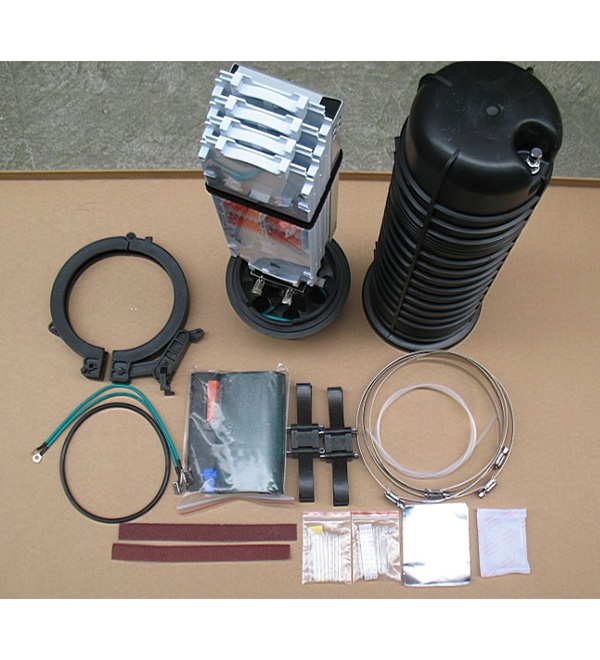
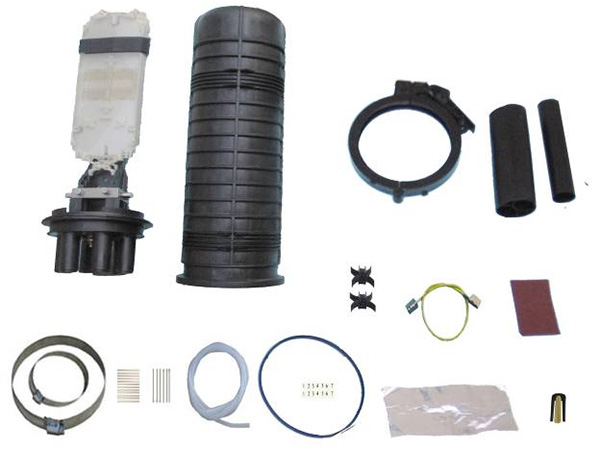
Kit Contents
| Item | Type | Quantity |
| Fiber Optic Splice Sleeve | Allocated by the number of fibers | |
| Buffer Tube Tubing | PVC | Allocated by the trays (According to the clients need) |
| Nylon Ties | 4×trays | |
| Heat-shrinkable Tube | Φ32×200 | 4 PCS |
| Heat-shrinkable Tube | Φ70×250 | 1 PCS |
| Branch Fork | 1 PCS | |
| Marking Note | 4×cores of fiber cable | |
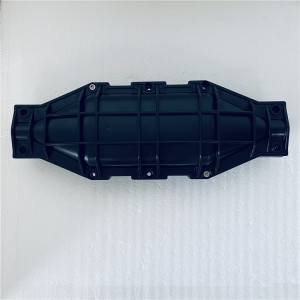
| Hanging Tools | Aerial-hanging or Wall-mounting | 1 pair |
| Earthing wire | 1 stick | |
| Adjustable retainer for fixing on the pole | 2 pcs | |
| Fixture for fixing on the pole | 4 pcs |
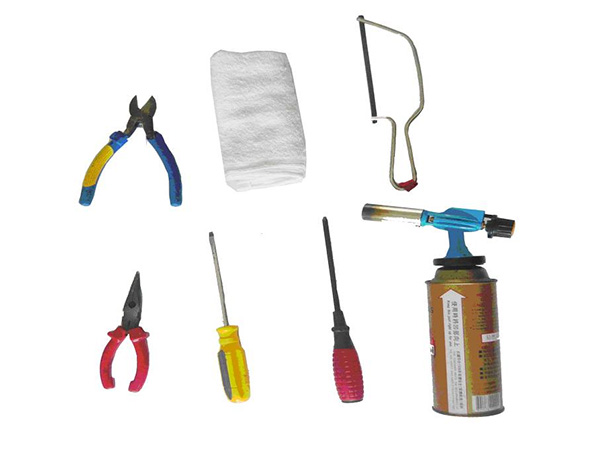
Tools Required
● Blast Burner or Welding Gun
● Saw
● Minus Screwdriver
● Cross-shaped Screwdriver
● Pliers
● Scrubber
Assemblies and Tools
1. Serial Assemblies
2. Self-prepared Installation Tools
Installation Steps
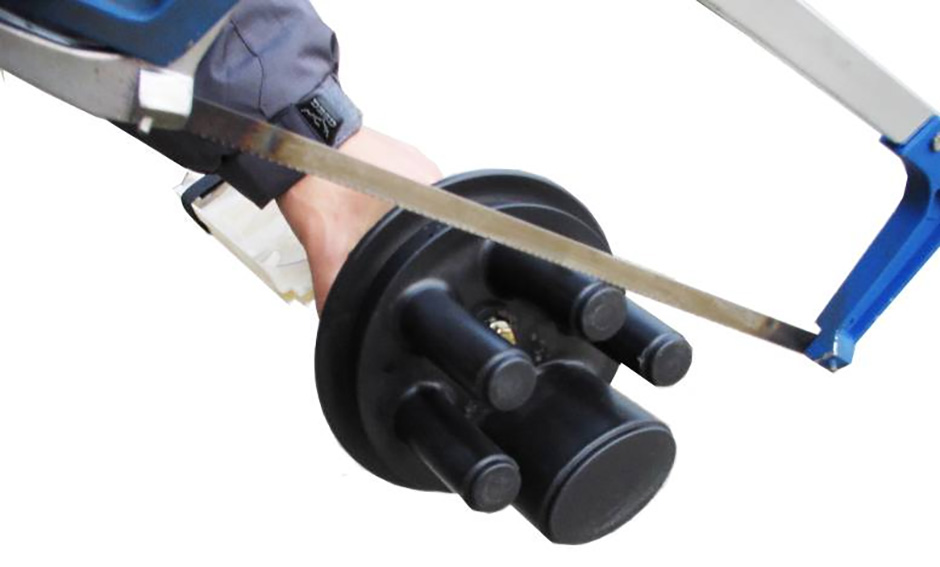
(1) Saw the entry ports as need.
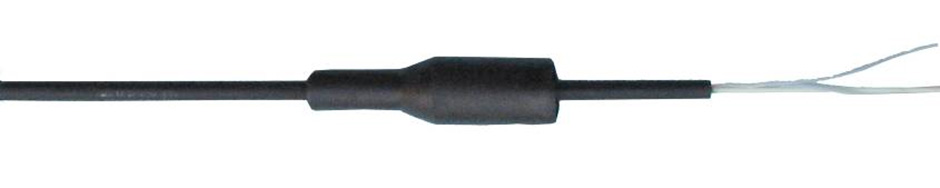
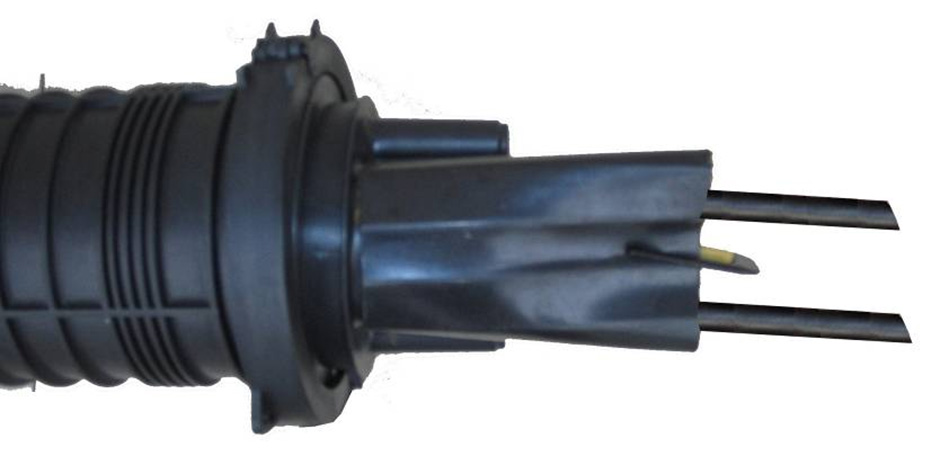
(2) Strip the cable as the requirement of installation, and put the heat-shrinkable tube on.
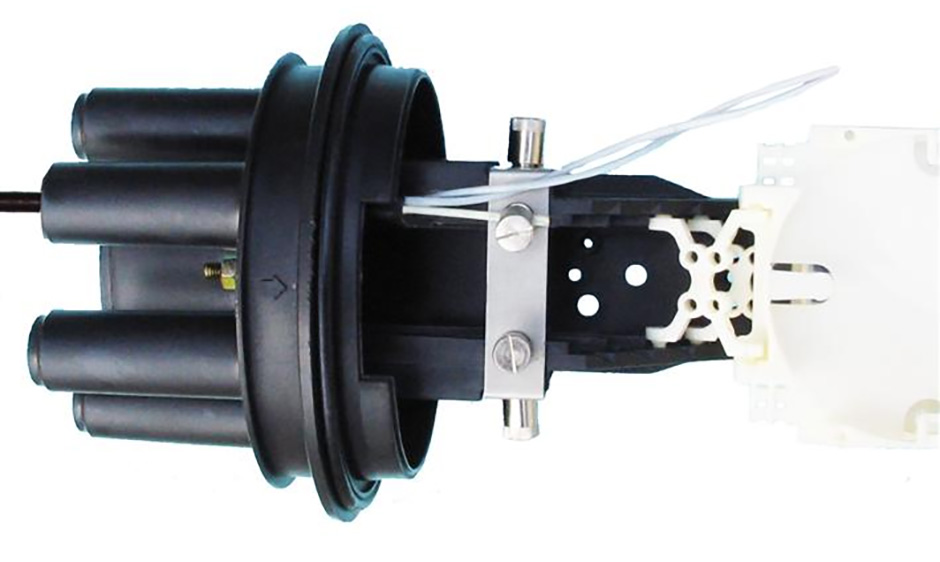
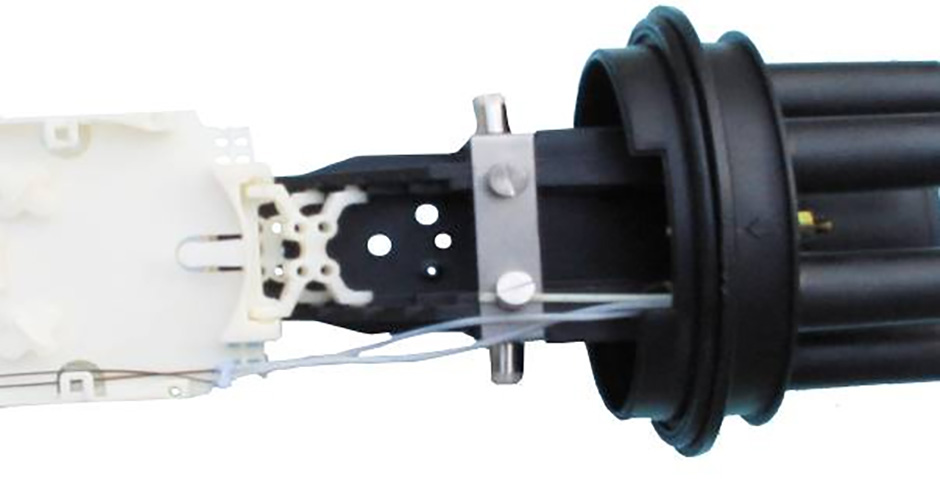
(3)Penetrate the stripped cable to the bracket through the entry ports.,fix the strengthen wire of wire of the cable on the bracket by the screwdriver.
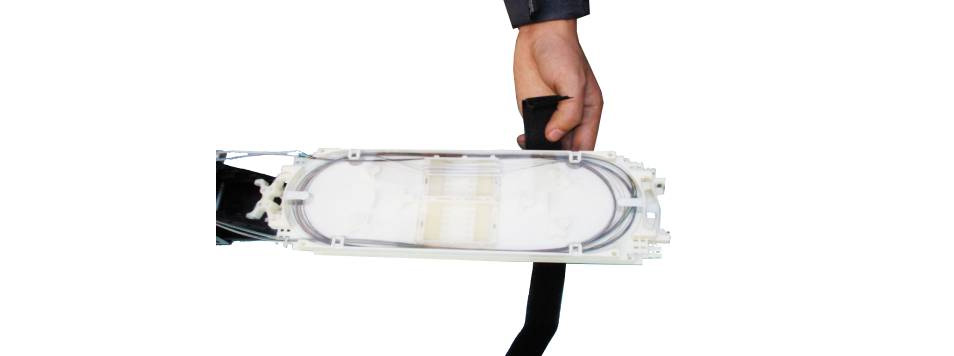
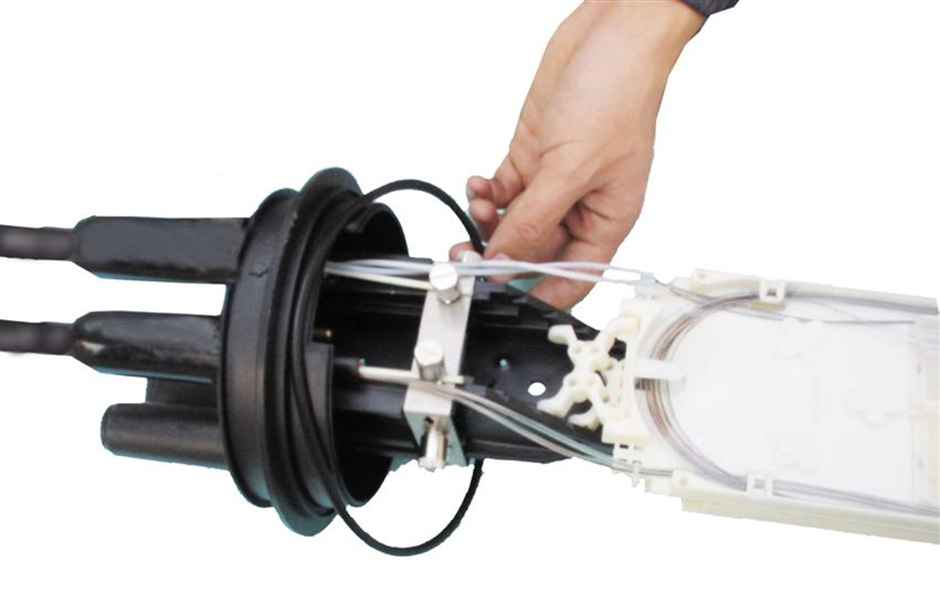
(4) Fix the fibers on the entry part of the splice tray by nylon ties.
(5) Put the optic fiber on the splice tray after splicing and make noting.
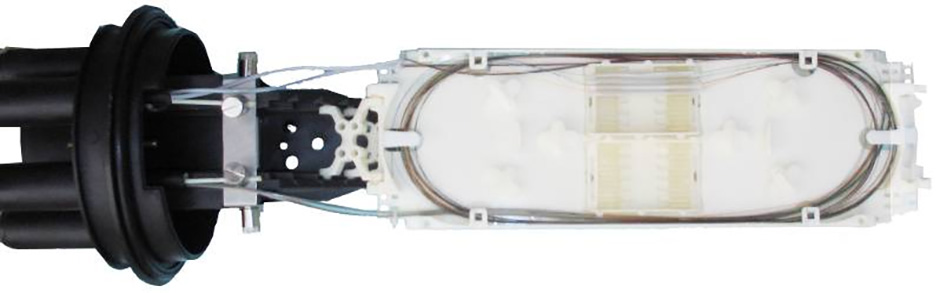
(6) Put the dust cap of the splice tray on.
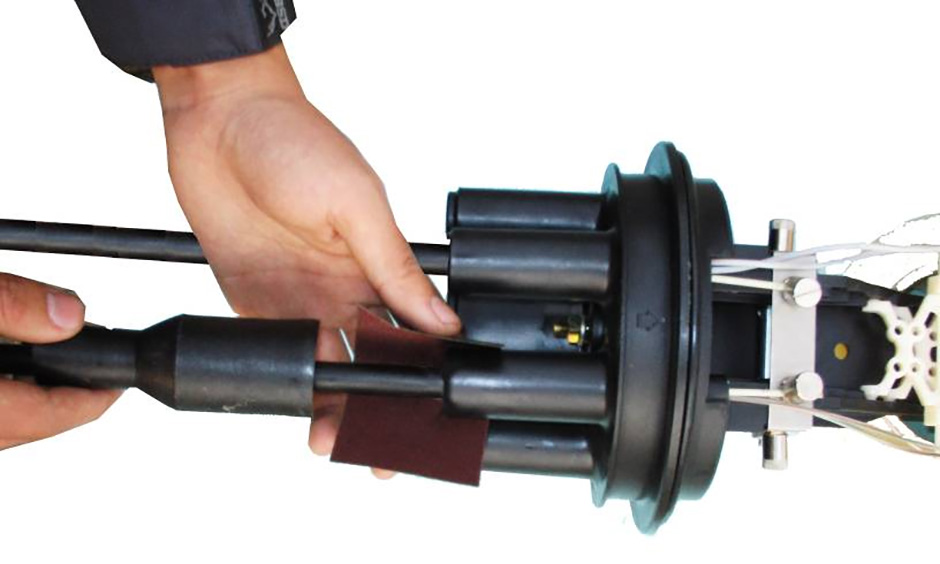
(7) Sealing of the cable and the base: clean the entry ports and cable with 10cm long by scrubber
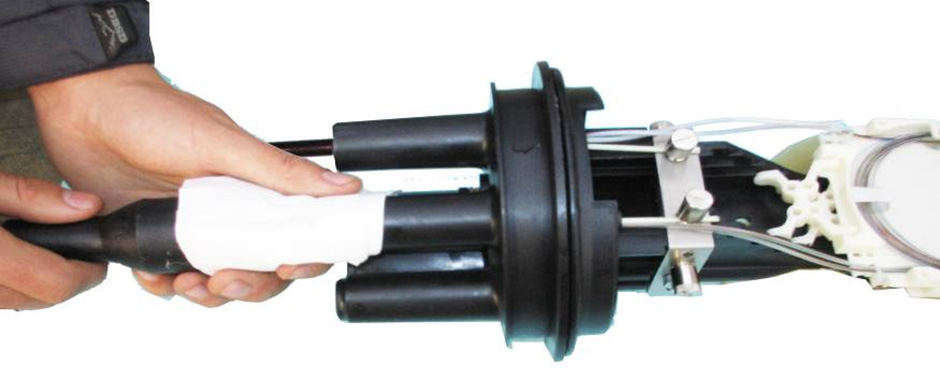
(8) Sand the cable and entry ports that need to heat-shrink by abrasive paper. Wipe the dust that be left after sanding away.
(9) Bound and even the heat-shrink part with aluminum paper to avoid burn caused by high temperature of blast burner.
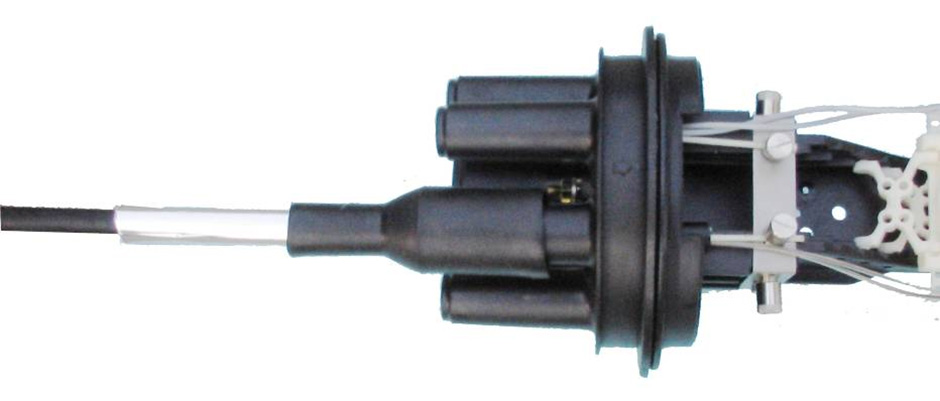
(10) Put the heat-shrinkable tube on the entry ports, then, heating by blast burner and stop heating after it is tighten. Let it be cool naturally.
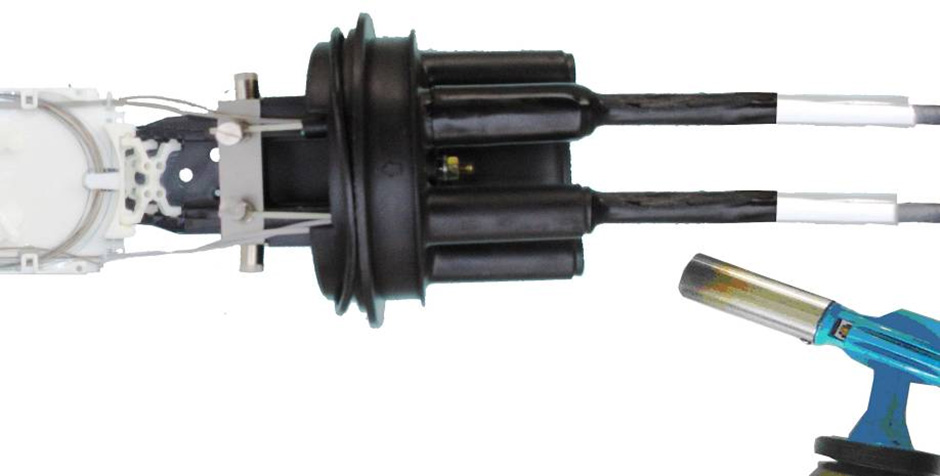
(11) Usage of branch folk: when heating the oval entry port, folking the heat-shrinkable tube to separate the two cables and heating it follow the steps above.
(12) Sealing: use clean scrubber to clean the base, the part to put silicone rubber ring and silicone rubber ring, then, put the silicone rubber ring on.
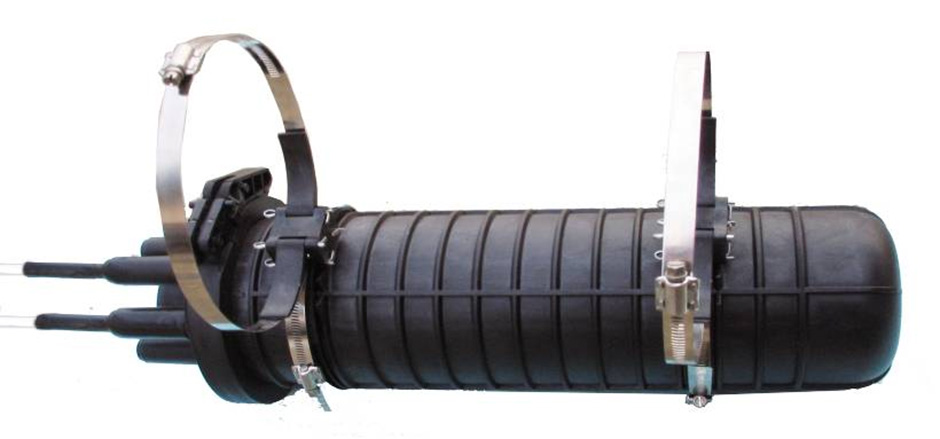
(14) Put the barrel on the base.
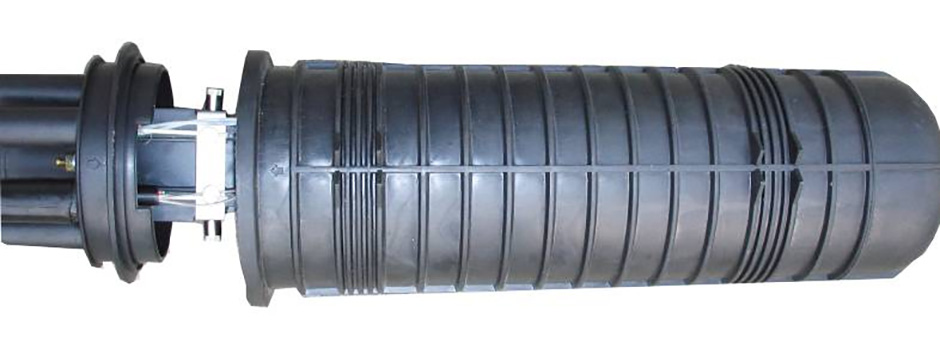
(15) Put on the clamp, run the ferris wheel to fix the base and barrel.
(16) When installing, fix the hanging hook as showing.
i. Aerial-hanging
ii. Wall-mounting
Transportation and Storage
(1) The package of this product adapts to any transportation ways. Avoid collision, drop, direct shower of rain & snow and insolation.
(2) Keep the product in a draughty and dry store, without corrosive gas in.
(3) Storage Temperature Range: -40℃ ~ +60℃.